Hardwood floors are a timeless and elegant feature in any home, but daily wear and tear can eventually leave them looking dull and scratched. If you’re considering refinishing your wooden floors, the good news is that it’s a project you can tackle yourself. Using the right products and techniques, such as the popular Minwax Wood Finish in Weathered Oak along with a quality polyurethane finish, you can give your floors a fresh, stylish update that brings out the natural grain and beauty of the wood.
This guide focuses on flooring enthusiasts in the UK—DIY homeowners, young professionals revamping a first home, designers looking to achieve a rustic-modern look, and tradespeople seeking effective products for clients. Learn how to prepare, stain, and seal your hardwood floors like a pro.
Why Choose Minwax Wood Finish Weathered Oak?
Minwax Wood Finish Weathered Oak is a subtle, neutral stain that complements a wide range of interior styles. With a light grey-brown tone and a slightly rustic yet refined character, it brings out the grain patterns in the wood without overpowering natural textures. Ideal for contemporary, Scandinavian, and modern farmhouse interiors, Weathered Oak adds sophistication and warmth that is both stylish and timeless.
The reason DIYers and professionals alike choose Minwax products is because of their consistent finish, ease of application, and reliable drying times. The Weathered Oak stain creates a balanced backdrop that suits light and dark furniture, metallic fixtures, or eco-modern designs. For floors especially, it provides a soft, lived-in look without turning too dark like some traditional stains.
Equally important, this oil-based stain penetrates deeply to protect the wood and highlight the grain, rather than merely coating it. That means your floor will not only look good but also wear well over time—an essential attribute for high-traffic areas in UK homes.
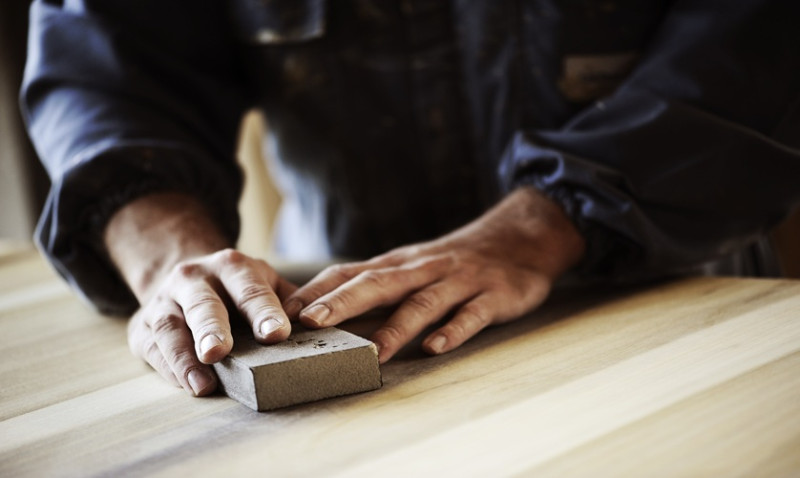
What You’ll Need
A successful floor staining project starts with the right tools and materials. Here’s what you’ll need to refinish your hardwood floor using Minwax Weathered Oak and polyurethane topcoat:
- Minwax Wood Finish - Weathered Oak
- Oil-based or water-based polyurethane (satin or matte preferred for flooring)
- Orbital sander and various sandpaper grits (from 60 to 220)
- Tack cloth or vacuum for dust removal
- Lint-free cloth or foam brush for stain application
- High-quality brush or floor applicator pad for polyurethane
- Plastic sheeting and painter’s tape for masking
- Protective gear: dust mask, gloves, and goggles
Some traders prefer water-based polyurethane because of quicker dry times, but oil-based formulas offer a slightly more amber, traditional look. Either can be used depending on the desired effect.
Step-by-Step: How to Refinish and Stain Your Hardwood Floors
1. Preparation is Everything
Start by removing all furniture from the room, masking off skirting boards and vents, and protecting adjacent rooms with plastic sheeting. Ensure proper ventilation by opening windows. Preparation ensures a dust-free space and a cleaner final finish.
Use an orbital sander to strip down the existing finish. Begin with coarse-grit sandpaper (around 60–80 grit) and gradually move to a finer grit (up to 220) for a smooth surface. Sand with the grain of the wood, not against it, to avoid scratches.
2. Thorough Dust Removal
Once sanding is complete, vacuum every corner thoroughly. Use a tack cloth or slightly damp microfibre cloth to remove residual dust. Any remaining particles can result in imperfections in the stain and polyurethane layers.
3. Applying Minwax Weathered Oak Stain
Before applying, stir (don’t shake) the stain to ensure even colour. Test the stain on a small, inconspicuous area or scrap piece of the same wood to preview results.
Using a lint-free cloth or foam brush, apply the stain in the direction of the wood grain. Work in small sections to maintain control, and ensure even saturation. Let the stain sit for 5–15 minutes depending on how deep a colour you want, then wipe off the excess with a clean cloth.
Allow the stain to dry for 8–24 hours based on temperature and humidity, ensuring no tackiness remains before proceeding to the polyurethane stage.
4. Applying Polyurethane
Once the stain is fully dry, it's time to seal the floor with a protective polyurethane finish. Stir gently to avoid bubbles, then use a floor applicator pad or natural bristle brush to apply a thin, even coat across the floor.
Apply with smooth, continuous strokes and avoid over-brushing. Allow at least 24 hours of dry time between coats, lightly sanding with 220-grit sandpaper after each one to ensure adhesion. Typically, 2 to 3 coats are recommended for high-durability results.
Finish Comparison Table
| Finish Type | Drying Time | Durability | Sheen Level | Best For |
|---|---|---|---|---|
| Water-Based Polyurethane | 2–4 hrs per coat | High | Matte, satin, gloss options | Quick jobs, lighter colour retention |
| Oil-Based Polyurethane | 12–24 hrs per coat | Very High | Warmer tone, subtle ambering | Traditional look, high-traffic areas |
Pro Tips for a Flawless DIY Finish
Work in natural light: Proper lighting helps you avoid streaks and overlap marks, especially with clear finishes.
Temperature and humidity matter: Aim for consistent room conditions. Excess humidity or cold can alter drying times and finish quality.
Use painter’s knee pads or a flooring pad: This helps avoid strain during extended floor work.
Respect curing time: Even after the floor feels dry, avoid placing heavy furniture or rugs for at least 7 days to allow the finish to cure completely.
Conclusion: Turn Ordinary Floors into Statement Features
Refinishing your floors with Minwax Weathered Oak stain and a durable polyurethane topcoat is one of the most cost-effective ways to transform your living space. Whether you’re a young homeowner injecting personality into a new flat in London, a tradesperson updating a client’s cottage in the Cotswolds, or a designer chasing a high-spec finish—this DIY project delivers professional-level results with the right approach.
With patience and the proper materials, even those with little previous experience can achieve a flawless, durable floor. Weathered Oak offers a stunning, versatile tone that plays well with today’s most popular design styles. Paired with a well-applied poly topcoat, your floors will look magazine-worthy and withstand years of use. So, roll up your sleeves and bring your floors back to life—it’s easier than you think!