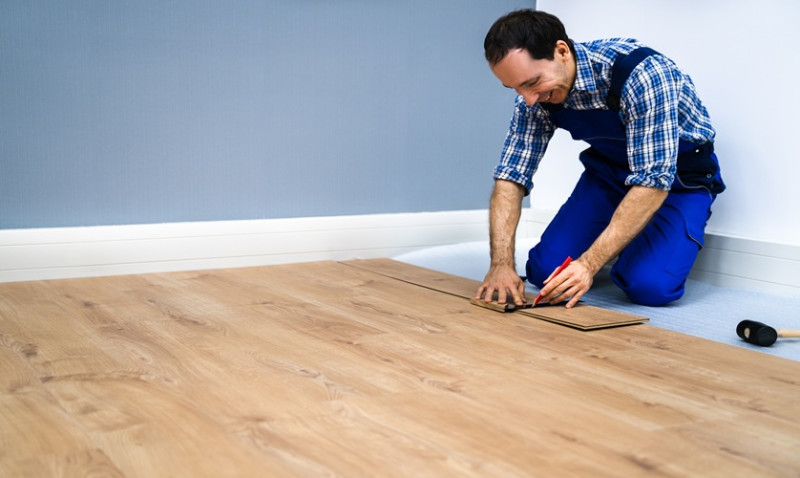
Herringbone laminate flooring is one of the most stylish and timeless design choices you can make when upgrading your floors. With its geometric layout and visual appeal, the herringbone pattern elevates the appearance of any space, from contemporary apartments to classic period properties. While the installation process might seem intimidating, laying herringbone laminate flooring is surprisingly achievable for anyone who’s handy with DIY or professional tradespeople looking to offer more to clients.
In this comprehensive guide, we’ll walk you through laying herringbone laminate flooring, from planning and preparation to precise installation techniques and finishing touches. Whether you're a DIY enthusiast wanting to transform your living space or a contractor installing premium flooring in a client’s home, this guide gives the clarity and confidence to achieve a flawless finish.
Why Choose Herringbone Laminate Flooring?
Before diving into the technical aspects, it’s worth understanding why this patterned flooring has become so popular in UK homes. Herringbone, with its V-shaped, staggered zigzag design, is not only visually striking but incredibly versatile. Paired with the affordability and easy maintenance of laminate, it’s ideal for those seeking beauty without breaking the bank.
Laminate flooring is made of several synthetic layers fused together, with a photographic layer that replicates the texture and look of wood or stone. Modern laminate flooring features click-lock systems that make installation straightforward, even for ambitious DIYers.
Herringbone laminate brings a sense of luxury through its intricate pattern, often associated with traditional parquet flooring—except it’s far easier and more cost-effective to install. It's a great design option for hallways, living rooms, bedrooms, and even retail and hospitality spaces.
Tools and Materials You’ll Need
Proper preparation is crucial for a smooth installation experience. Having the right tools and materials on hand before starting will save time and reduce disruption. Here's a list of essentials:
- Herringbone laminate flooring packs (purchase 10% more for wastage)
- Underlay (moisture barrier if installing on concrete)
- Pencil and measuring tape
- Chalk line or laser level
- Table saw or jigsaw
- Rubber mallet
- Pull bar and tapping block
- Flooring spacers
- Adhesive (if required for edge boards)
- Knee pads and safety gear
Quality tools help ensure cleaner cuts and tighter seams, which are especially important for patterned installations like herringbone.
Step 1: Planning the Layout
Laying herringbone laminate isn’t as simple as laying straight planks. The layout needs careful planning to ensure symmetry, especially in high-traffic areas or focal points of a room like entrances or fireplaces.
Start by measuring the room and marking its center with a chalk line. This centerline will help anchor the first row of your pattern precisely, ensuring the symmetry maintains throughout the room. In most installations, herringbone planks are set at a 90-degree angle to each other, but some may prefer the 45-degree variation for a more diagonal flow across the space.
If your room isn’t square (which is often the case in older UK homes), use a laser level or T-square to adjust the centerline to account for irregularities. Creating a dry run pattern with a few planks on the floor can help visualise the layout and identify any issues early on.
Step 2: Preparing the Subfloor
Subfloor preparation is key to a long-lasting and squeak-free installation. Begin by removing any existing flooring material down to the original subfloor, whether timber or concrete. Make sure the surface is level, clean, and dry.
Use a spirit level to check for dips or humps. Any deviations larger than 3mm over 2 metres should be corrected with self-levelling compound. In many UK homes, especially renovations, subfloors may be uneven in places—don’t skip this step thinking laminate will ‘cover it up’. Uneven bases can cause planks to lift and locks to break over time.
Next, roll out your underlay, overlapping joint seams and taping them down. If laying over concrete, use an underlay with an integrated moisture barrier. Underlay not only provides comfort and insulation but also reduces noise—an important consideration in flats and shared housing.
Step 3: Laying the Herringbone Pattern
With your layout marked and the underlay secured, it’s time to begin installation. You’ll start from the centre point, creating a ‘central spine’ using paired left and right boards. Most herringbone laminate flooring packs include designated left and right-hand boards to create the interlocking V pattern.
Align your first ‘V’ pair along the chalk line and use spacers to maintain expansion gaps around the perimeter of the room (typically 10–12mm). These gaps allow the laminate to expand and contract with humidity changes—crucial for maintaining stability over time.
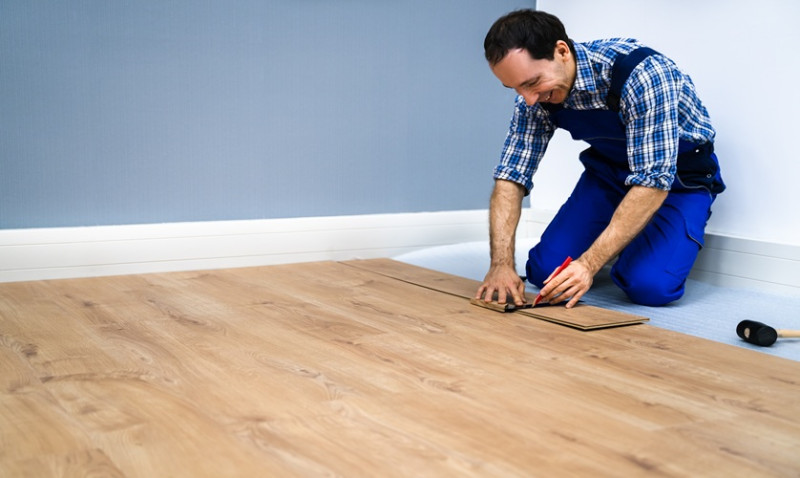
Use a tapping block and rubber mallet to secure joints tightly without damaging the edges. Work in small sections, gradually building out the pattern row by row. The key is precision—each misalignment extends throughout the pattern, so double-check every position as you go.
Step 4: Fitting Edge and Border Pieces
Once the bulk of the flooring is installed, you’ll reach the perimeter of the room where full planks no longer fit. Measure each gap and cut your boards using a jigsaw or table saw. You may need to trim boards lengthwise or cut angled sections, especially around architectural features like bay windows, stairs or built-in furniture.
Take extra care when fitting edge pieces near doorways or thresholds. These areas should have transition strips to safely cover the expansion gap and visually transition between different flooring types.
In period homes or spaces with uneven walls, scribing the cut using a contour gauge or template tool will ensure snug fitting against the skirting or walls.
Step 5: Finishing Touches
With all planks installed and expansion gaps maintained, remove spacers and inspect the floor for any raised edges or loose joints. Walk the floor gently to ensure firmness and correct any sections if necessary.
You can now install skirting boards or re-attach them if previously removed. Alternatively, use scotia trim to cover expansion gaps without disturbing existing skirting—this is especially helpful for rented properties or quicker installs.
If you’ve undercut door frames to slide laminate underneath, use silicone caulk to seal around the bottom for a seamless, professional look. Clean off dust and packaging residue with a damp microfiber cloth—laminate doesn't need wet mopping.
Maintenance Tips for Long-Lasting Results
One of the best features about laminate flooring is its low maintenance. However, a little care goes a long way in preserving its appearance.
| Maintenance Task | Recommended Frequency | Tips |
|---|---|---|
| Dry Sweeping | Daily or as needed | Use a soft-bristled broom or microfiber mop to remove dust and grit. |
| Damp Mopping | Weekly | Use laminate-safe cleaners, avoid soaking the floor. |
| Furniture Protection | Ongoing | Use felt pads on furniture legs and avoid dragging heavy objects. |
| Spill Cleanup | Immediate | Wipe up spills quickly to avoid moisture penetration. |
Avoid steam mops, abrasive brushes, or harsh detergents which can damage the laminated surface or cause joints to swell. Proper care ensures your herringbone laminate keeps turning heads for years to come.
Final Thoughts
Installing herringbone laminate flooring can feel like a challenge at first—but with patience and the right preparation, the results are well worth the effort. Whether you're refreshing a Victorian terrace in Manchester or fitting out a modern flat in London, this elegant pattern offers a premium look that combines tradition with modern convenience.
For the DIY enthusiast, it’s an opportunity to build a feature that adds real value and aesthetic charm to your space. For professionals, offering herringbone laminate installation can elevate your services and impress clients with high-end finishes that rival hardwood parquet.
Have you installed herringbone laminate flooring recently? Share your tips, photos, or experiences below—we’d love to hear how your flooring journey turned out!
